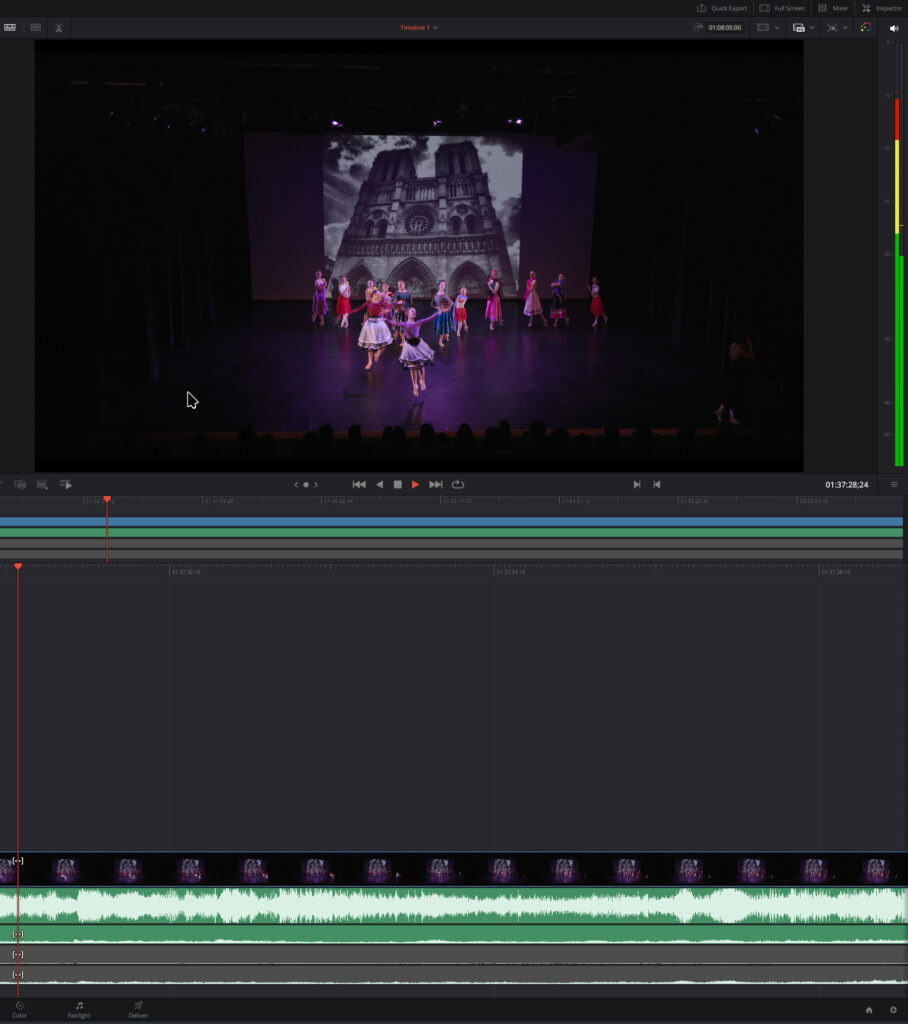
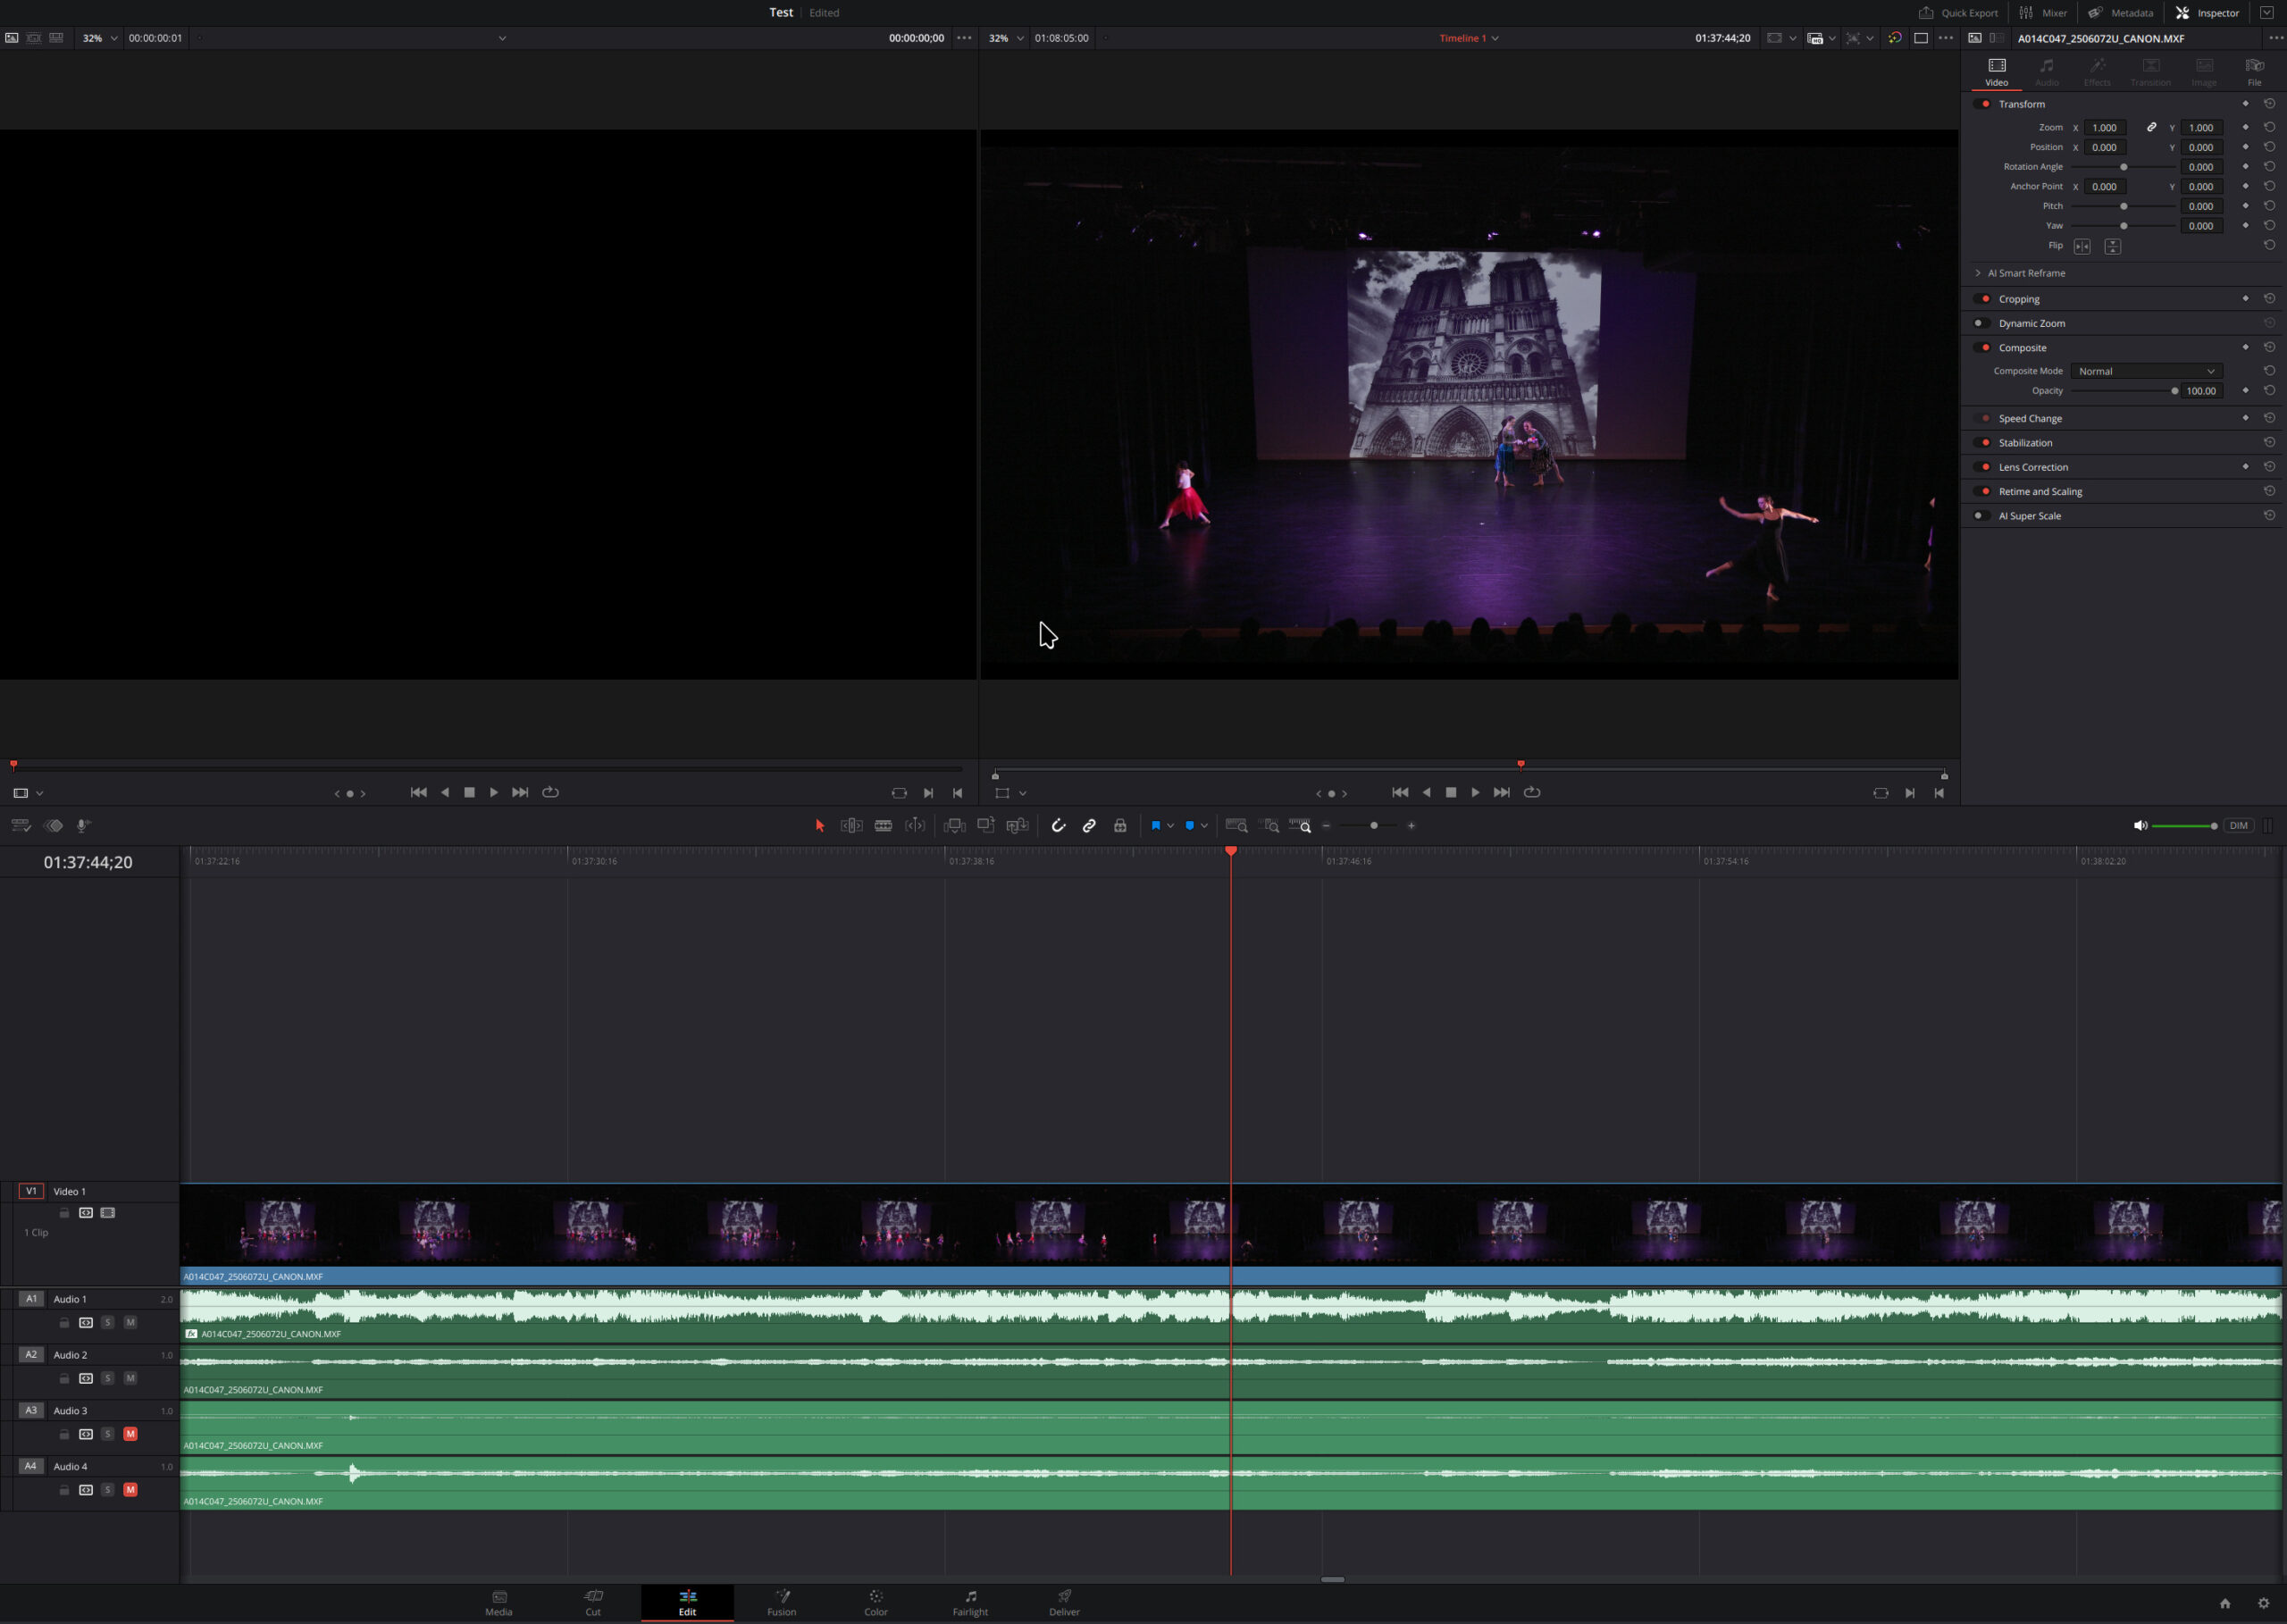
Alright, so I have the answers now! Last time, I left off in a problematic state as of the last article, linked to at the bottom of this post. However, I played around with this more and figured out a better way, and I reinstalled AlmaLinux 10 on my computer and followed these steps, and it all worked fine this time!
The specs on my computer, once again, are the parts here:
https://pcpartpicker.com/user/ruvimk/saved/#view=YDmw7P
IMPORTANT – USE MOTHERBOARD HDMI!
One thing I learned is that it’s problematic with AlmaLinux 10 and the nvidia driver to be using the GPU HDMI port as the output. It works at first, but then turning off the monitor, or the computer going to sleep, or locking the computer – all of these break it!!!
But, thankfully, nvidia has this thing called “PRIME” which allows the output to still remain the MOTHERBOARD’s HDMI output, but for you to be able to selectively specify the RENDERING of an app (such as DaVinci Resolve, which needs the bigger RAM of the GPU) to be done using the nvidia graphics card.
Please see the DaVinci Resolve section below, particularly the edits to make to its “.desktop” file to make it render using the GPU instead of the integrated graphics, but long story short: LEAVE THE MONITOR PLUGGED INTO THE MOTHERBOARD’S INTEGRATED HDMI PORT!!
At least on Linux, this seems to be much less problematic because something as simple as the computer going to sleep doesn’t break everything.
The OS
First install the AlmaLinux 10 OS. You may put the image (DVD ISO) onto a USB flash drive. It doesn’t take long.
KDE Plasma workspace
If you’d like, you may install the plasma workspace as I did:
su

dnf -y install epel-release && dnf -y update && dnf --enablerepo=epel group && dnf config-manager --set-enabled crb && dnf -y groupinstall "KDE Plasma Workspaces" && reboot
Next time when you log in, before typing your password, select the gear icon and change from “gnome” to “plasma”.
Notable GUI settings
Some settings to keep in mind that I used, but you may or may not need – just a reminder list of items to consider:
- Mouse & Touchpad – ensure the scrolling direction is the way you’d like (for me, I had to reverse it to scroll the right way).
- Bluetooth – if pairing mouse/keyboard, click on “Configure” on the top-right, and ensure the radio button is set to “On login: Enable Bluetooth” so that it doesn’t turn off Bluetooth randomly when you log in the next time.
- Screen Locking: Lock screen automatically: Never.
- Power Management:
- When inactive: do nothing.
- Power button: sleep.
- Dim automatically: never.
- Turn off screen: never.
Download and install NVIDIA driver
Go to nvidia.com and download the GPU driver for Linux 64-bit. Be sure you do NOT select “aarch64” as that is for the ARM chip. What we want is just the regular AMD or Intel x86_64 (“64-bit”) variant of the driver.

Using that search currently brings up this which should work:
https://www.nvidia.com/en-us/drivers/details/249194/
Before the driver can be installed, some prerequisites are necessary:
sudo dnf install gcc

sudo rpm --import https://www.elrepo.org/RPM-GPG-KEY-v2-elrepo.org

sudo dnf install https://www.elrepo.org/elrepo-release-10.el10.elrepo.noarch.rpm

sudo dnf install kernel-devel-matched

sudo dnf config-manager --add-repo https://raw.repo.almalinux.org/almalinux/10/devel/x86_64_v2/os

sudo dnf install xorg-x11-server-devel libglvnd-devel
The NVIDIA driver installer prefers that the X window server is NOT running, so I recommend:
- Log out of the GUI session.
- Ctrl + Alt + F3 to go to a text-only console.
- Terminate the GUI (GDM), ensure any existing nvidia modules are unloaded, and install the driver.
From the text-only console (Ctrl + Alt + F3):
sudo systemctl stop gdm.service

lsmod | grep nvidia
# if there are any nvidia modules running,
# see what is using them, and unload them:
sudo rmmod nvidia_drm # etc. ...

# ***************** then to install *****************

cd ~/Downloads
chmod ugo+x NVIDIA-Linux-x86_64-570.169.run
sudo ./NVIDIA-Linux-x86_64-570.169.run
Some notes on the options:
- When it asks if you want to SIGN the module, YES, YOU WANT TO SIGN IT! Otherwise it won’t work with SecureBoot if it’s not signed, and you won’t be able to boot with the module.
- Select: Generate New Key.
- Note the path where it saves the *public* key: probably,
/usr/share/nvidia/nvidia-modsign-crt-XXXXXXXX.der - It might complain about having to guess the module path of
/usr/lib64/xorg/modules , but don’t worry about that warning – the X11 should find it still, just accept and continue. - If it asks to build legacy 32-bit support libraries, select yes.
- If it asks to rebuild initramfs or something like that, select yes.
- If it asks to run xconfig to configure xorg.conf, select NO. You can do that later after reboot.
Once the installer is done, run the mokutil in order to register the kernel module with secure boot:
sudo mokutil --import /usr/share/nvidia/nvidia-modsign-crt-XXXXXXXX.derIt will ask you to make a password. Pick a password, and remember it: you will need this password in the BIOS the next time you boot.
At this point, reboot the computer.
Please: stay WITH the computer. The BIOS will only give you like 30 seconds to “press any key to load MOK”. If you miss the 30-second window during boot, then you’ll boot into the OS without registering the MOK, and the NVIDIA driver won’t work.
The process is also described by this documentation page, where they even have some screenshots of what to expect during boot:
https://elrepo.org/wiki/doku.php?id=secureboot
Again, this is IMPORTANT because otherwise your system won’t be able to run the NVIDIA driver without the MOK installed.
Once rebooted, configure the xorg.conf for use with NVIDIA:
sudo rm -rf /etc/X11/xorg.conf
sudo nvidia-xconfig
Now reboot once again, and, chances are, the NVIDIA driver still won’t work. Troubleshooting with journalctl , I had to:
su

cd /usr/bin

ausearch -c 'nvidia-modprobe' --raw | audit2allow -M my-nvidiamodprobe

semodule -X 300 -i my-nvidiamodprobe.pp
Then to fix another error in journalctl , I also had to:
sudo vi /etc/modprobe.d/nvidia.confAnd put the contents:
options nvidia_drm modeset=1
options nvidia_drm fbdev=1
I don’t know if the “fbdev” is necessary or if it does anything, but the “modeset” is required for sure for the configuration with wayland. The nvidia_drm is the name of the kernel module, and modeset is the name of the parameter being set.
Saving that, a refresh is necessary, followed by a reboot:
sudo dracut --force
sudo reboot
For me, plasma was still not being able to log in: typing in my password into the GUI worked, but then that took me to just a black screen. To fix that, I had to:
vi ~/.bashrcAnd ensure there’s a setting for QT_QPA_PLATFORM:
export QT_QPA_PLATFORM=waylandEnsure also that sudo dnf install qt6-wayland is already installed, which it probably already is.
After the above was added, I was able to log in to the plasma workspace without being stuck on a black screen anymore. However, for DaVinci Resolve, this QT_QPA_PLATFORM does need to be set to xcb instead of wayland as described below.
Playing video
To play video, the codecs are not installed, so they’ll need to be installed as per:
https://wiki.almalinux.org/series/system/SystemSeriesA05.html
I had to do:
sudo dnf install distribution-gpg-keys

sudo rpmkeys --import /usr/share/distribution-gpg-keys/rpmfusion/RPM-GPG-KEY-rpmfusion-free-el-$(rpm -E %rhel)

sudo rpmkeys --import /usr/share/distribution-gpg-keys/rpmfusion/RPM-GPG-KEY-rpmfusion-nonfree-el-$(rpm -E %rhel)

sudo dnf --setopt=localpkg_gpgcheck=1 install  https://mirrors.rpmfusion.org/free/el/rpmfusion-free-release-$(rpm -E %rhel).noarch.rpm https://mirrors.rpmfusion.org/nonfree/el/rpmfusion-nonfree-release-$(rpm -E %rhel).noarch.rpm

sudo dnf -y group install multimedia

sudo dnf -y install ffmpeg ffmpeg-libs ffmpeg-devel mpv --allowerasing

sudo dnf -y group install sound-and-video

sudo dnf -y install libdvdcss
Note: try without --allowerasing first to see if that flag is needed. Be careful.
After the above installs, I was able to play video with mpv.
DaVinci Resolve Studio 20 – install
To install DaVinci Resolve Studio, download it from the BlackMagic Design website, then install some prerequisites:
sudo dnf install apr apr-util mesa-libGLU zlib
sudo dnf install libxcrypt-compat
Unzip DaVinci Resolve, and run it:
cd ~/Downloads
mkdir DaVinci_Resolve_Studio_20.0_Linux
cd DaVinci_Resolve_Studio_20.0_Linux

unzip ../DaVinci_Resolve_Studio_20.0_Linux.tar

# Note: QT_QPA_PLATFORM cannot be wayland for DaVinci Resolve, so it's necessary to override here

export QT_QPA_PLATFORM=xcb
sudo ./DaVinci_Resolve_Studio_20.0_Linux.run -i

# Note: might also need to run with skip checks if it complains about zlib despite zlib already installed
It should install to /opt/resolve . However, if you try to run it:
/opt/resolve/bin/resolveYou might see the error described here:
https://www.reddit.com/r/davinciresolve/comments/1d7cr2w/optresolvebinresolve_symbol_lookup_error/
The error is about resolving a symbol lookup. To fix this, you may do the following:
cd /opt/resolve/libs
su
mkdir archive
mv libgio* archive/
mv libglib* archive/
mv libgmodule* archive/
exit
Finally, there is one more thing to change:
sudo vi /usr/share/applications/com.blackmagicdesign.resolve.desktopAdd some environment variables to the Exec= line so that it reads:
Exec=env QT_QPA_PLATFORM=xcb __NV_PRIME_RENDER_OFFLOAD=1 __GLX_VENDOR_LIBRARY_NAME=nvidia /opt/resolve/bin/resolve %u(That is, in the above, I added the part starting with “env” and ending with “nvidia”.)
After all of the above is done, DaVinci Resolve Studio should now be able to run.

Previous post – for reference
Last time’s post on this – for reference only, I don’t recommend doing some of the things from last time:

